A new air conditioning installation makes a major contribution to creating a comfortable home interior and to designing a healthy, energy-efficient environment.
Though there are numerous issues to consider during air conditioning installation, most people focus only on the proper cooling device and are unaware of the pre-installation tasks that they must perform.
Homeowners can accomplish these tasks using an AC installation preparation checklist.
When exploring cooling systems, homeowners will find information on available equipment options, how to care for them, and what makes sense to consider based on where they live, such as AC installation in NJ.
Industry professionals at companies like Platinum HVAC often emphasize the importance of pre-installation planning, and for good reason, preparation is what separates a smooth process from a stressful one.
Why Preparing for AC Installation Matters
It’s not enough to simply stick an air conditioner inside or outside of the home.
Installers must have clear access to work areas, safe connections with electrical equipment, and access ways for carrying equipment.
Proper preparation helps:
- Reduce installation delays
- Improve safety for technicians and homeowners
- Prevent accidental damage to furniture or belongings
- Allow installers to complete the project more efficiently
- Make post-installation testing easier
When you prepare to install AC systems beforehand, the installation process is generally faster and more orderly.
7 Days Before Installation: Evaluate Your Current Cooling Setup
A week before your installation, inspect your current AC to identify any issues that could cause difficulties during installation.
Note the locations of your indoor and outdoor units.
Consider whether outside conditions could present challenges to their removal.
You must also report any difficulties experienced during the system’s installation, such as increased electricity costs or excessive or insufficient heat in your house. The analysis will help you choose an air conditioner suitable for your house.
5 Days Before Installation: Clear and Prepare the Installation Areas
Start setting up work areas for techs 5 days before the appointment.
Remove all furniture, decorations, storage containers, and other objects from the indoor unit’s area.
For the outdoor unit, cut back plants and other nearby objects. It should be possible to provide adequate room around the work area.
3 Days Before Installation: Check Power, Access, and Safety Requirements
Access for installation should be secured three days before installation begins.
Entrances, gates, utility rooms, crawlspaces, attics, or basements may also be your work areas. Keep any animals on the property out of the work area during installation.
The location of the electrical panel may also be an asset. Many modern cooling systems have specific power requirements, and installers may require quick access to these areas during air conditioner installation.
2 Days Before Installation: Confirm the Installation Details
At this stage, contact the installation company to confirm appointment times and project details.
Review:
- Arrival window
- Expected installation duration
- Required homeowner presence
- Payment arrangements
- Specific instructions given by the contractor
It’s also great to have last-minute questions and make sure everyone grasps what the project entails. Clear communication helps homeowners prepare for AC installation with confidence.
1 Day Before Installation: Final Home Preparation Checklist
Conduct a final inspection of the work areas the day before installation.
Keep pathways clear of obstructions and remove fragile items from installation areas. Ensure there is no obstruction to access to outdoor equipment locations.
A final review of your AC installation preparation checklist can help prevent last-minute surprises.
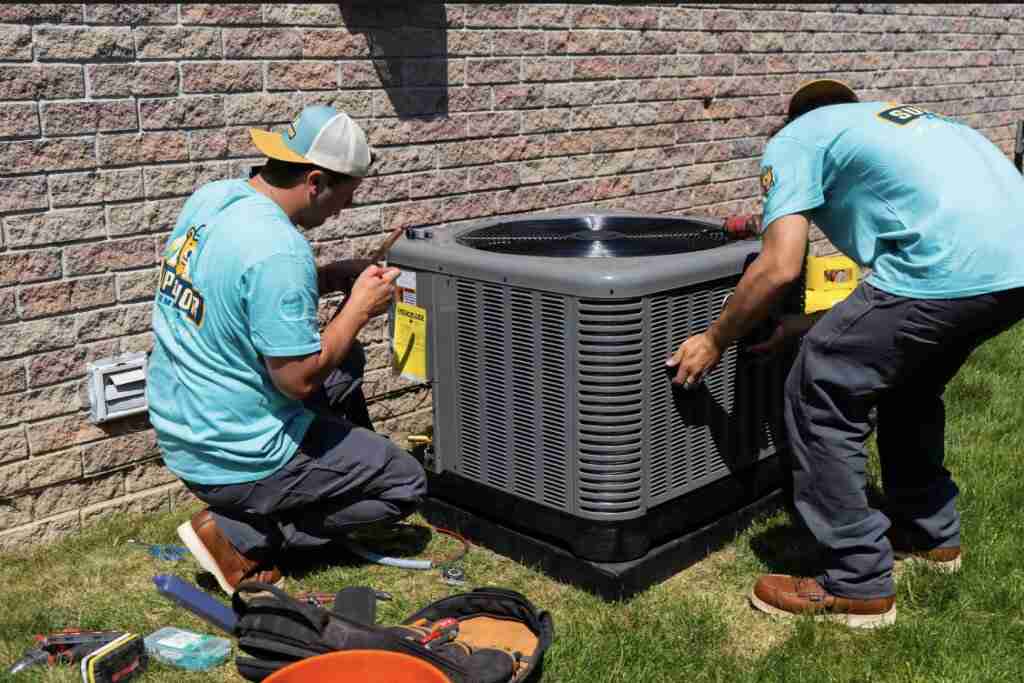
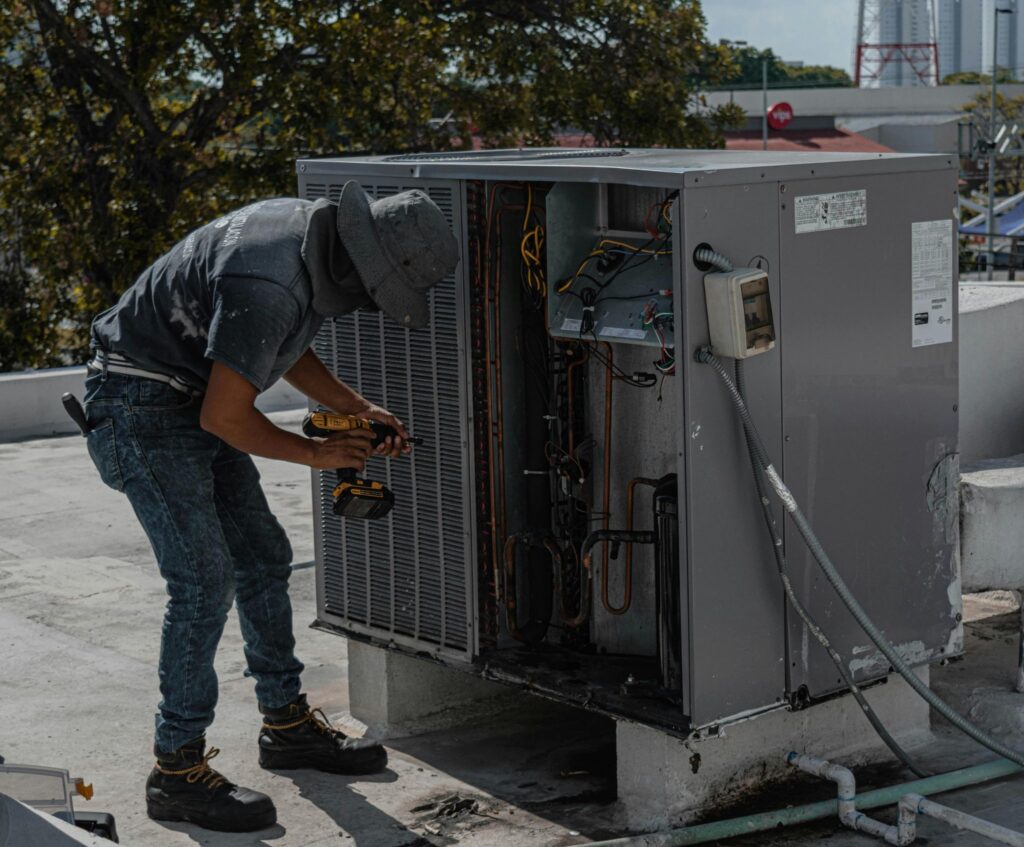
Installation Day: What Homeowners Should Expect
Techs will bring the new equipment on the day of installation, disconnect the old equipment if needed, and begin installing the new system.
You can expect some noise, short power disruptions, and technicians to be constantly moving in and out of the house and to the outside.
Installation can range from a couple of hours to a better portion of a day, depending on what you have installed.
You can stay out of the technician’s way while they install what they need to, but you will want to stay at home in case there are any questions.
After Installation: Immediate Steps to Take
After the installation, consult the technician about how the system operates and maintenance tips.
Be aware of the temperature settings, filter changes, and other maintenance procedures. Also, inspect your house to ensure adequate airflow throughout and sufficient cooling in all rooms.
Knowledge of your system from the beginning can prove very helpful.
Common AC Installation Preparation Mistakes to Avoid
There are a host of preparation tasks that many homeowners simply forget to do, causing them delays.
Common mistakes include neglecting to clean up afterward, neglecting to tie up loose pets, and neglecting to lock away electrical panels, among other things, or procrastinating and leaving all appointment confirmations for the very last minute.
This is easily preventable by ensuring your contractors do their jobs properly and efficiently.
In Conclusion
Good planning ahead of the installation date will ensure you get the most out of the purchased system.
Having access points, clearing the workspace, checking project details, and working within the planned schedule will make the work easier.
Are you a homeowner who recently got an AC system installed? Let us know your experience.


