Clean water matters big time. It’s what we drink, cook with, shower in, and wash our clothes with. But let’s face it—tap water isn’t always great. Maybe yours tastes funny or leaves spots on your glasses. Maybe you’ve heard rumors about what’s floating around in there. Whatever your reason, getting a water filter for your home is a smart move.
But then you walk into a store or browse online and boom—there’s like a million options. Pitchers, faucet attachments, under-sink systems, reverse osmosis… it gets confusing fast. How do you pick the right one without wasting money on stuff you don’t need?
I’ve got you covered. Here are 10 straightforward tips to help you choose the perfect water filter for your home. No fancy jargon, just practical advice so you can make a choice you’ll be happy with.
Tips To Choose A Water Filtration System For Your Home
Finding the right water filter isn’t rocket science, but there are some key things to know before you buy. Some filters remove chlorine but leave minerals. Others take out almost everything. Some are cheap upfront but cost more over time. The trick is figuring out what’s actually in your water and what you want to remove.
A whole house water filter system might be right for you if you want clean water from every tap in your home. Or maybe you just need something small for the drinking water Act. We’ll walk through all your options so you can decide what makes sense for your situation and budget.
Test Your Water Quality
Water testing shows exactly what’s in your water so you know what you need to filter out.
You wouldn’t buy medicine without knowing what’s wrong with you, right? Same idea here. You need to know what’s in your water before you can fix it. Drinking water quality at home isn’t a fixed thing; it shifts with your source, your pipes, and even the time of year.
That’s why testing is the single most important first step. A report or test kit gives you actual data rather than guesses. It tells you whether you are dealing with hardness, chemical traces, sediment, or something else entirely. Without that baseline, you risk spending money filtering things that aren’t a problem while ignoring the ones that are.
There are a few ways to test your water. The simplest is getting a home test kit from a hardware store. These usually cost about $10-$30 and test for common stuff like chlorine, lead, bacteria, and hardness. They’re quick but not super detailed.
For better results, check if your local health department offers free water testing. Many do! Or you can send a sample to a lab for a complete analysis—this costs more (around $100-$300) but tells you everything that’s in there.
If you’re on city water, another option is asking for your municipality’s water quality report. They have to test regularly, and these reports are free to residents.
Don’t skip this step! I’ve seen so many people waste money on filters they didn’t need because they didn’t test first. And if you’re on well water, testing is extra important since there’s no treatment plant involved.
Identify Your Filtration Needs
Once you know what’s in your water, you can figure out what you actually want to remove.
This is where you need to ask yourself some questions. Are you mainly worried about taste and smell? Then you probably just need to remove chlorine. Concerned about health contaminants like lead or arsenic? You’ll need a more specialized filter.
Make a quick list of your priorities:
- Improving taste/smell
- Removing specific contaminants
- Softening hard water
- Removing sediment
- Getting rid of bacteria
Don’t assume you need to remove everything.
Some minerals in water are actually good for health!
Focus on what matters most to you. If your water tastes fine but you’re concerned about specific contaminants, you need a different solution than someone who just hates the chlorine taste. And remember—no filter removes absolutely everything, so prioritize.
Learn About Different Types of Systems
Different filtration technologies remove different things from water.
Let me break down the main types without getting too technical:
- Activated carbon filters: These are super common and good at removing chlorine, bad tastes, and some chemicals. They’re in most pitcher filters and faucet attachments. They’re cheap but don’t remove minerals, metals, or most bacteria.
- Reverse osmosis: These push water through a super-tiny membrane that blocks almost everything except pure water. They remove nearly all contaminants but also take out good minerals and waste some water in the process.
- Ion exchange: Great for softening hard water by swapping calcium and magnesium for sodium. If you have scale buildup, this might be your answer.
- UV purifiers: These use ultraviolet light to kill bacteria and viruses. They don’t remove chemicals or minerals, though.
- Sediment filters: These catch dirt, sand, and physical particles. They’re often used as pre-filters to protect other filter types.
Most good systems combine multiple technologies. For example, a typical under-sink system might have a sediment filter first, then carbon, then reverse osmosis. Don’t get hung up on finding one perfect filter—sometimes you need a team approach.
Consider the Flow Rate and Capacity
Flow rate tells you how quickly water comes through your filter, and capacity tells you how much water a filter can clean water before it needs replacement.
Nothing’s more annoying than turning on your faucet and getting a sad little trickle of water. That’s what happens when your filter can’t keep up with demand.
For a kitchen faucet, you want at least 0.5-1 gallons per minute. For a whole house system, you’ll need 7+ gallons per minute to handle showers and appliances at the same time.
Capacity matters too. Most filters can clean a certain amount of water before they stop working well. This is usually measured in gallons or months. A typical pitcher filter might last 40 gallons (about 2 months for most families), while an under-sink carbon filter could last 500+ gallons (6-12 months).
Don’t just look at the price tag—check how often filters need replacing and how much replacements cost. Sometimes paying more upfront saves money over time. And for whole house systems, always go bigger on flow rate than you think you need.
Check Maintenance Requirements
All water filters need some maintenance, and knowing what’s involved helps you pick one you’ll actually keep up with.
Let’s be honest—the best filter is one you’ll actually maintain. Some need filter changes every month, others once a year. Some are easy to swap out yourself, others might need a plumber.
Here are common home maintenance tasks:
- Replacing filter cartridges
- Cleaning filter housings
- Sanitizing systems
- Adding salt (for water softeners)
- Checking for leaks
Be realistic about what you’ll do. If you know you’ll forget to change filters, get a system with a light or alarm. Or choose one with longer-lasting filters even if it costs more upfront. Also, keep replacement filters on hand so you’re not tempted to skip changes when the current one gets gross.
Evaluate Certification and Standards
Certifications verify that filters actually remove what they claim to remove.
Don’t just trust what the box says. Look for filters certified by NSF International or the Water Quality Association (WQA). These organizations test filters to make sure they work as advertised.
The main standards to look for:
- NSF/ANSI 42: Improves taste and smell
- NSF/ANSI 53: Reduces health-related contaminants
- NSF/ANSI 58: For reverse osmosis systems
- NSF/ANSI 401: Removes emerging contaminants like pharmaceuticals
Manufacturers can say almost anything on their packaging, but certifications don’t lie. Always check the certification details to see exactly what contaminants were tested. Some filters are only certified for one or two things, not everything the marketing might suggest.
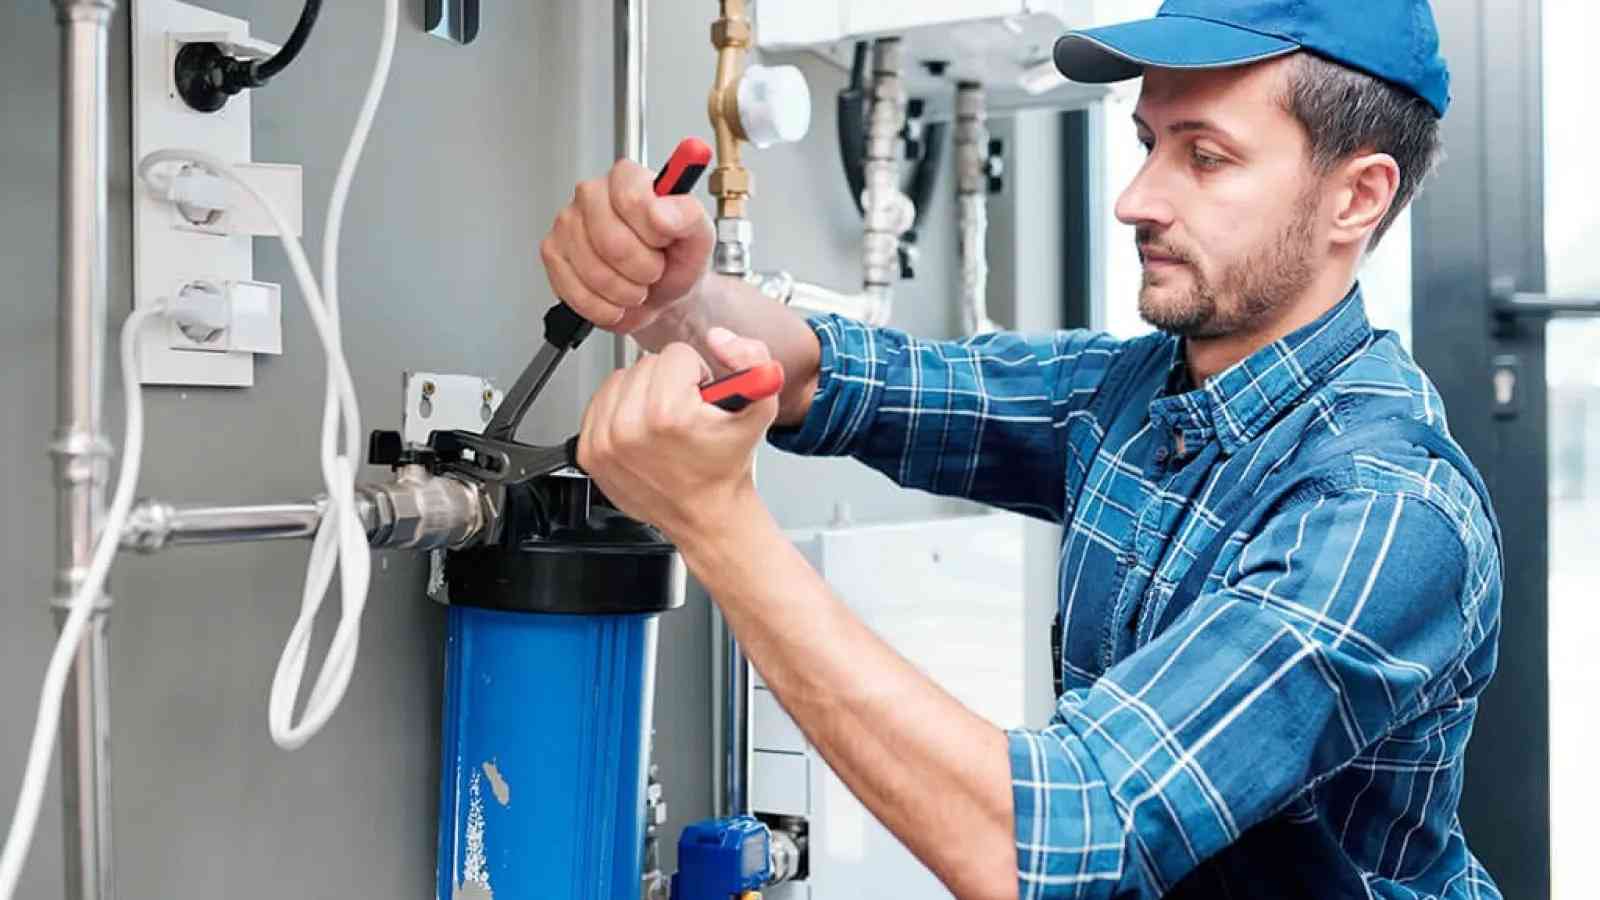
Think About Installation and Space
Different systems require different amounts of space and installation effort.
Some filters sit on your counter. Others go under the sink.
Some attach to your main water damage line. Each has different small space needs and installation challenges.
Countertop pitchers need zero installation but take up counter space. Faucet-mounted filters are easy to install but might not fit all faucets. Under-sink systems hide away nicely but need cabinet space and some common plumbing work. Whole house systems need professional installation and a spot near your main water line.
Measure your space before shopping! I’ve seen so many people buy under-sink systems only to find they don’t fit with their garbage disposal. And be honest about your DIY skills—some installations look easy in videos but get complicated fast. When in doubt, budget for professional installation.
Compare Costs and Long-Term Value
The true cost of a water filter includes purchase price, installation, replacement filters, and operating costs.
Water filters can cost anywhere from $20 for a basic pitcher to $2,000+ for a whole house system. But the initial price is just part of the story.
To figure out the real cost:
- Add up the purchase price and installation
- Calculate yearly replacement filter costs
- Add any electricity bill or water waste costs
- Divide by years of expected use
For example, a $30 pitcher with $60/year in filters might seem cheaper than a $300 under-sink system with $100/year in filters. But after 5 years, the pitcher costs $330 while the under-sink system costs $800. The under-sink system costs more but filters way more water and usually does a better job.
Don’t forget to factor in what you’re currently spending on bottled water if that’s what you use now. Many families spend $300-600 per year on bottled water, which can make even expensive filter systems look like a bargain.
Read Reviews and Get Recommendations
Real-world experiences from other users can reveal issues that specs and marketing don’t show.
Product descriptions tell you what should happen, but reviews tell you what actually happens. Look for patterns in reviews rather than focusing on individual complaints or praise.
Good sources for reviews include:
- Consumer Reports (subscription required but unbiased)
- Amazon (look for verified purchase reviews)
- Plumbers and water treatment professionals
- Friends and neighbors with similar water
Pay special attention to reviews from people who’ve had the system for 6+ months. Many problems don’t show up right away. And when reading reviews, look for comments about customer service quality—even great filters sometimes have issues, and good support matters.
Match the System to Your Lifestyle
The perfect filter matches your household’s water usage patterns and priorities.
Think about how you actually use water. Do you drink tons of water? Cook a lot? Have special health concerns? Travel frequently?
If you drink lots of water, invest in quality drinking water filtration. If you travel often, avoid systems that need constant attention. If you have kids, look for systems that are easy to use so they’ll actually drink filtered water.
Renters should consider portable systems they can take when moving. Homeowners might want to invest in permanent solutions.
The “best” system isn’t always the most expensive or most powerful—it’s the one that fits your life. Sometimes that’s a simple pitcher, sometimes it’s a complex whole-house system. Be honest about your habits and needs.
Conclusion
Picking a water filter isn’t as hard as it seems once you break it down. Start by testing your water so you know what you’re dealing with. Figure out what you want to remove. Learn the basic types of filters. Then think about practical stuff like flow rate, maintenance, and cost.
The perfect water filter is one that removes what you need it to, fits your space, matches your budget, and is easy enough to maintain that you’ll actually do it. Follow these tips and you’ll end up with cleaner, better-tasting water without wasting money on features you don’t need.
Remember—the goal isn’t to remove everything from your water. The goal is to remove the stuff that matters to you. Now go get that filter and enjoy some truly refreshing water!


